Hand of the King is the initial final boss of Dead Cells. This is an incredibly challenging enemy that you’ll smash against like a brick wall over and over again as you start the game. Unlike other bosses like Conjunctivitis, he’s free to move anywhere he wants and has a lot of power behind him. His weapon allows him to attack in front and behind him, so you’re never safe. In this guide, we’ll tell you everything there is to know about the boss, and how to kill it. We’ll even throw in some facts you might not have known.
What is Hand of the King?
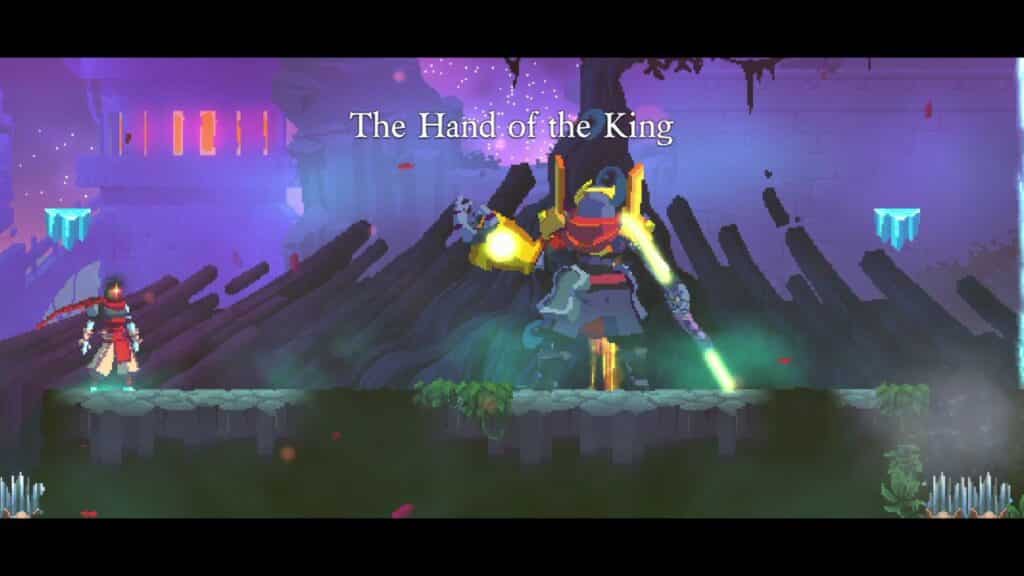
Hand of the King is the final boss in Dead Cells. At least, that is until you hit Boss Stem Cell 5. We’ll talk about that in another guide though. For now, this is the endgame fight of Dead Cells that is going to make you struggle against finishing the game for a good long time. He’s got a double-edged spear that will allow him to attack you even if you’re behind him. Don’t underestimate this foe, he’s not to be trifled with.
Attacks and Strategies
There are three phases to this boss fight. Let’s go through them in order, and explain what you’ll be up against and what you’ll need to do to deal with it.
Phase 1
The following attacks and strategies all relate to the first phase of the boss fight. Note that if you already have one Boss Stem Cell, the boss will immediately move to the second phase of this fight and skip this one.
Lance Sweep
After making a long moaning sound, the boss will sweep his lance upward in front of him. This attack has a long-range on it, so don’t underestimate it. The attack can be blocked or parried, but you’re probably better off just dodging out of the way as fast as possible.
Bomb Flurry
The boss will throw a pair of bombs at you three times in a row. While the bombs won’t explode as soon as they hit the ground, their fuses are short enough that they’ll blow up soon after. Every pair is thrown in your direction, so even if you’re moving, the next pair of bombs will be accurate.
OF course, you can dodge out of the way of these bombs, you can also block them and parry them. You can also deflect them with specific skills and weapons such as the Shovel and Wave of Denial. These are your best option when faced with this attack. Otherwise, just try to stay clear of the explosions.
Summon Enemies
This is an attack the boss will perform at 85% health. It’ll spawn an ice platform and summon enemies on both levels, including a single Elite. While these enemies are alive, the boss will be floating in the air, invulnerable to all of your attacks. You need to kill all the Elite enemies he’s summoned before the fight will continue.
The enemies that can be summoned vary a little, but Disgusting Worms, Grenadiers, and Inquisitors get summoned more often than others. It’s also possible that you’ll be facing a Scorpion, Lacerator, Cleaver, or Slasher though. If you take too long to kill the enemies, the boss will return to the fight. You need to deal with them all as fast as possible.
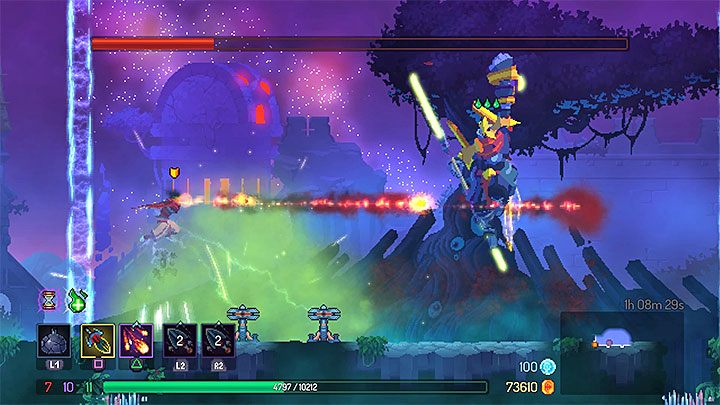
Phase 2
During the second phase, Hand of the King retains all the attacks it has from phase 1. The following attacks are also added into the mix.
Swipe and Strike
This is a three-hit melee combo that the boss pulls out. The boss will make a moaning noise before performing it. Then, it will attack in front, in front and behind, and finally behind itself. You can block, parry, and dodge all of these hits if you’re careful. However, if you dodge roll behind the boss for the first attack, that second one might hit you because it covers both sides.
Jab and Telluric Shock Combo
This attack is a single fast lance jab. you can block or parry that attack, but after it, the boss will leap and drop onto the floor to produce an electrical wave. You can’t avoid that shockwave unless you dodge it. For that reason alone it’s quite a good idea to dodge this attack altogether.
Charge
The boss jumps across the arena and then charges at the player. This has a pushing effect that will force you to the other side of the arena if you’re caught. You can block, parry, or dodge away from this attack if you see it coming. When parrying the attack, it’ll stop the damage, but the boss will keep on charging all the same. The key to this attack is the pits of spikes at either end of the arena. If you’re pushed, you’re going into one of them. This attack also destroys traps, so you’ll have to drop them again after it’s been used.
The best tactic here is to just jump over and avoid the attack. There’s too much at stake if you get caught by it.
Explosive Banners
This attack sees three flags drop down into the arena. These flags explode after six seconds, and they have a huge blast radius. It will cause some severe damage if you don’t take those flags out. You’ll see the range in a red aura, so if you can’t get them all then you can at least clear a small section where you can be safe from any damage. The Hand of the King is going to keep fighting you while the banners are active, so you’ve got to stay out of the way of anything else it’s throwing at you.
To avoid too much damage, take out two or three banners and wait for the others to blow. Then you can get back to the fight proper.
Summon Enemies Phase 2
This attack is similar to how the boss summons enemies in phase 1. It occurs at 40% health, and the boss summons enemies and two Elites. Everything else is the same, so kill the Elites quickly. After that, work on the smaller enemies until the boss drops, then move your focus to it. You need to deal with as many enemies as possible, so having a turret and trap will be paramount to getting through this segment of the battle alive.
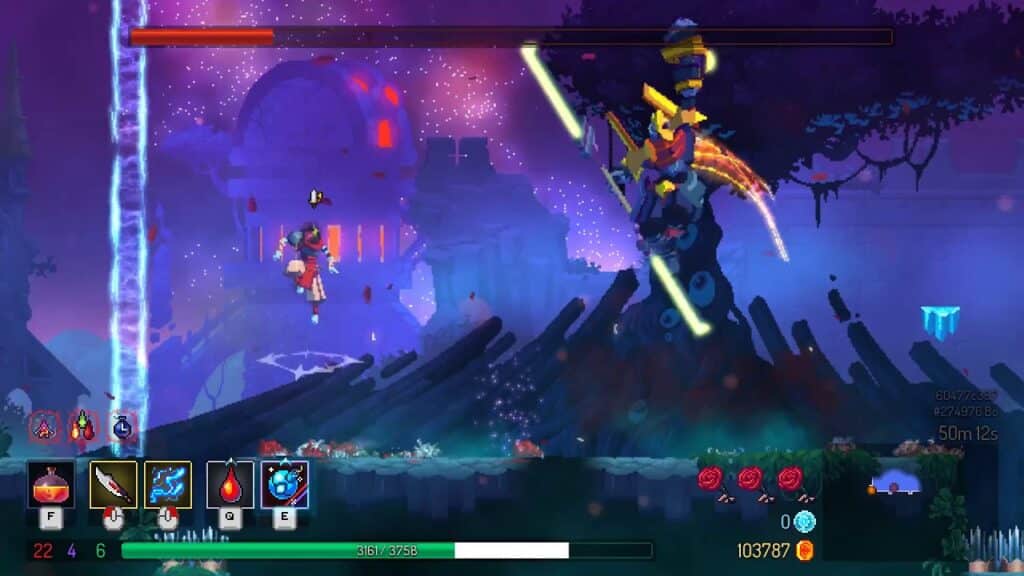
Phase 3
In this phase of the fight, the boss has every attack from phase 1 and 2 at its disposal as well.
Double Charge
This attack is the same as the Charge move. However, instead of just charging from one side of the arena to the other, the boss will cover both. It basically doubles the Charge attack, ensuring that even if you jump the first Charge, you need to dodge a second one to escape unscathed. Once again, the pits of spikes are a lethal element to this attack because the boss will push you into them.
To avoid these attacks, just jump them. You really have to get the timing right, though.
Super Telluric Shock
The boss moves to the middle of the arena, jumps up while charging his spear, then drops and explodes in a wave of electricity. If you’re caught by the wave, it causes damage and knocks you backwards too. If you have two additional jumps, then you can jump over this attack. Otherwise, you need to block this to avoid getting hit and killed by it. Honestly though, it’s almost a guaranteed hit.
Best Strategy
The first thing you’ll need is a shield that will lessen incoming damage from the front. This will go a long way to helping you throughout the fight. The traps you might have from previous fights will still work against this boss, but they’ll be a lot less effective. You’re better off having items that cause damage over time. These will help you chip away at the boss’ health throughout the fight.
Dodging the attacks you know you won’t have the dexterity to parry or block is also a good move. When in doubt, keep out of the way to avoid damage. This fight is going to take a long time to get through, so make sure you don’t rush and try to get too many attacks in at once when the boss is open. Patience is the key.
The biggest problem you’ll have are the other enemies the boss summons. Take care of them as soon as you can. If you don’t, they’ll make the rest of the fight so much harder. This is already difficult enough, you don’t need that as well.
Hand of the King Lore
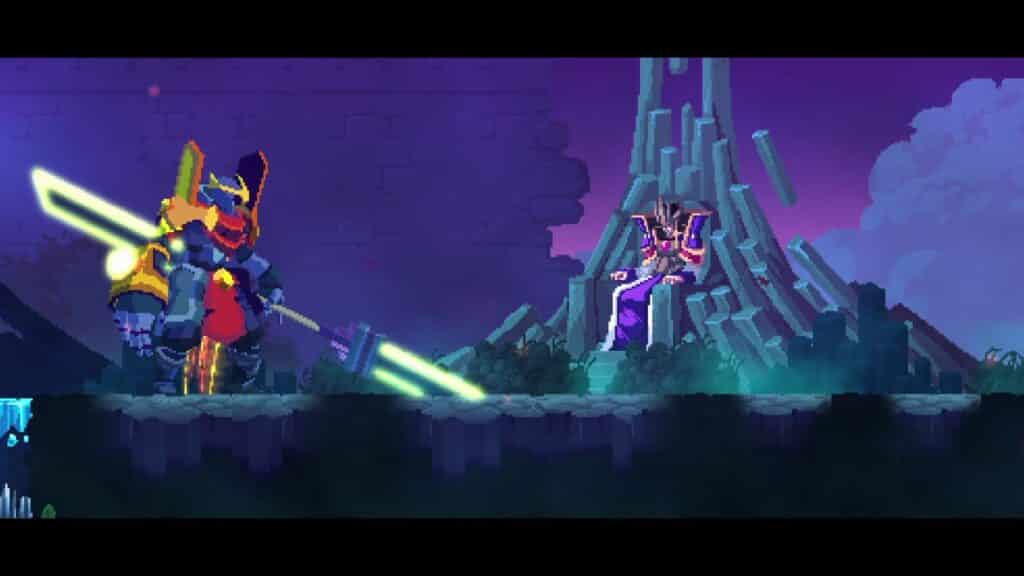
Hand of the King is a foe who had a strong disliking towards the Giant. Despite this, they both agreed that they hated the Alchemist. Once you enter the arena, the Throne Room, the game actually points out that very little is known about this enemy. Even whether he eats is a mystery.
In Stilt Village, there are occasional statues of the King and the Hand of the King side by side. There are also multiple beds in the boss’ quarters in High Peak Castle.
It seems as though the main role of this enemy was to protect the King. He pours over plots agains the King’s life, and was always trying to find ways to assert himself over everyone else. He wanted to be so scary that no one would dare make an attempt on the king’s life.