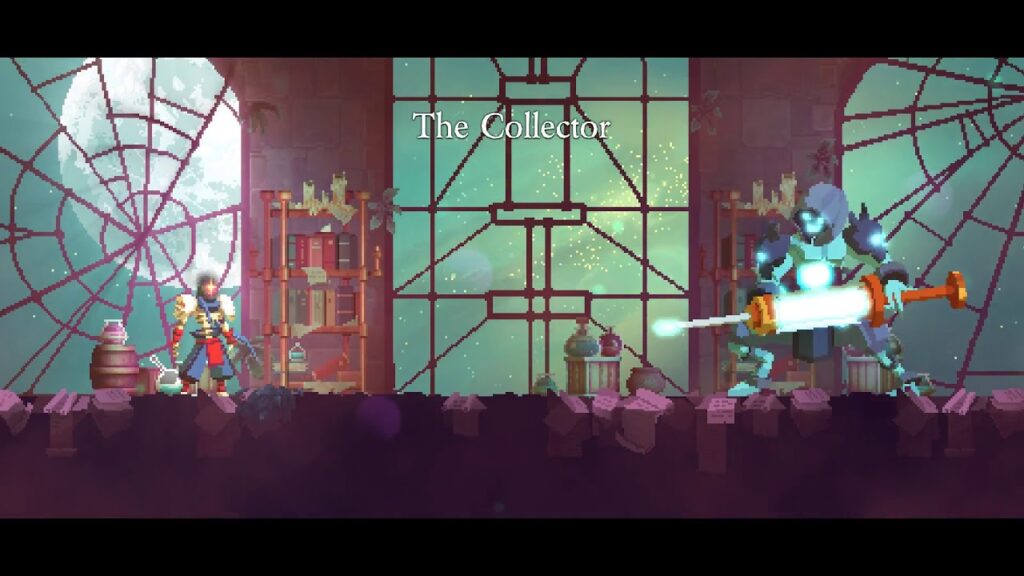
Much like the Giant, Dead Cells The Collector is a secret boss added to the game with the Rise of the Giants DLC. You can only face this boss after you meet a certain requirement, which is much harder to hit than any other in the game you’ll encounter. In this guide, we’ll cover how to face and kill this boss when the time comes.
What is The Collector?

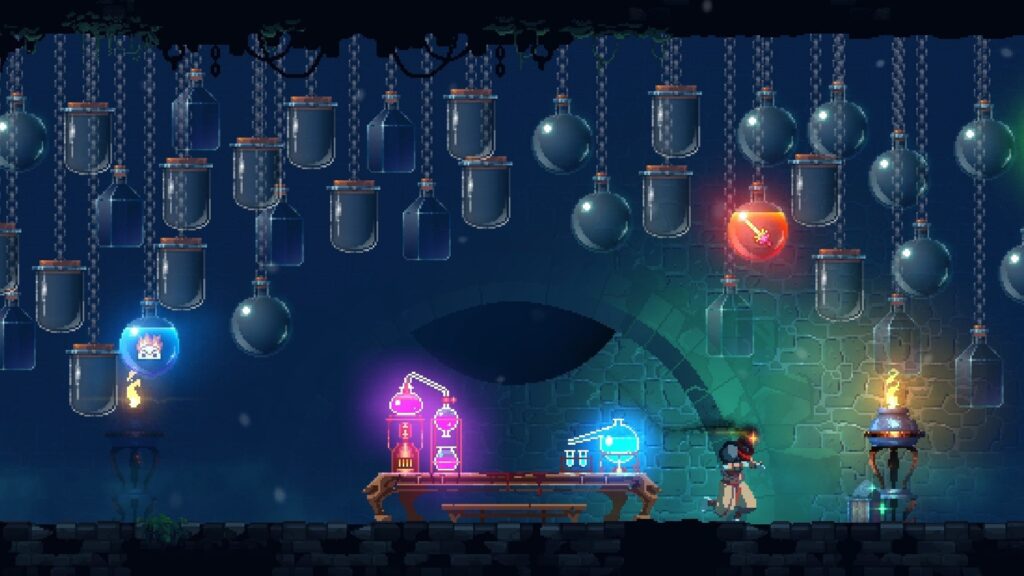
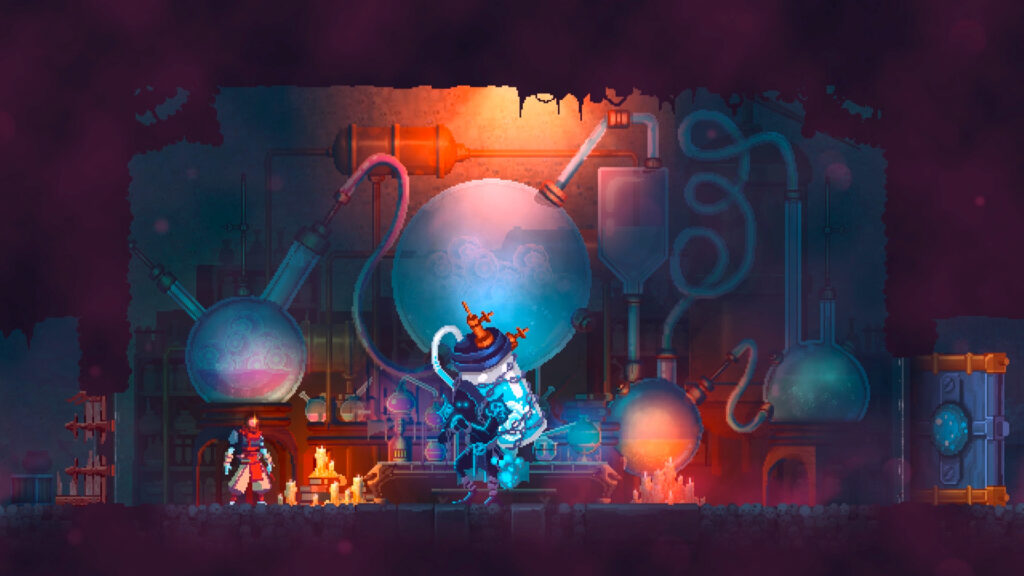
The Collector is the true final boss in Dead Cells. You can only face it with five Boss Stem Cells. You’ll find him in the Observatory, but only with the aforementioned items. This is not a boss to mess around with. Interestingly, this boss is also an NPC vendor for players for all of their playthroughs. Progress carries through him across all your replays of the main game. This is why he becomes so powerful in the end.
Attacks and Strategies

Get rid of any ideas about working through phases for this boss fight. The Collector has a series of phases that he changes up in the middle of the fight. It’s something totally different from all the other bosses that you’ll have seen so far. As a result, you need to constantly be on your toes. We’ll now go through those phases and how you can cope with the attacks in them.
Potion Drink
The boss can pull this move out during any phase. He’ll take a drink of a potion and heal all the way to full health. while he’s drinking, he’s invulnerable. No, it’s not fair.
Melee Phase
During this phase the boss focuses on using all of his melee attacks.
Syringe Lunge
This move will cause the boss to lean forward with his syringe and stab at you multiple times. You can dodge, roll, block, and parry this move. The best way to get out of the attack is to jump away though. The boss will stab at least three times, and no more than five times. Blocking might be an option, but it’s not a good one. Just avoid the attack entirely.
Syringe Pin
This move sees The Collector hop up onto his pin and spin around the arena like a madman. You can block, parry, and dodge away from this attack. He’ll change direction when he smashes into a wall, so it’s best to be aware of when he’s about to come your way. Keep an eye on where he’s going. Parrying will interrupt the attack, so that’s the best tactic for you to use. The boss is invulnerable to all attacks apart from those that penetrate shields while he’s doing this. Our advice is to stay away and parry when he gets close. Unless you have a weapon that will hurt him. Then use that.
Ground Smash
Like most bosses, this one has a ground pound move. He’ll charge up and create a shockwave. This, in turn, causes bombs to fall from the ceiling. It’s terrifying. You can’t block or parry the attack. You can dodge around from the falling bombs though. These bombs will blow when they hit the ground, not the player. You can block or parry the explosions themselves, which is the key difference here. You’ll have a slight chance here since the bombs make a silhouette on the ground before they drop. Watch those and move out of the way, then block the damage.
Ranged Phase
This is the phase in which the boss will use all of his ranged abilities.
Orb Shot
This move sees the boss charge up and shoot energy orbs at the player up to four times. you can dodge these, block them, or parry them. The best thing to do here is dodge, but block and parry if you really need to. Don’t be afraid to stand your ground so that you can get some decent hits in.
Beam Attack
With this move, the boss flies above the player and first a beam down at them three times. During this attack, there will be spikes on the walls that are active and will hurt you a lot if you touch them. You can’t block or parry this move, but you can dodge out of the way of the beam. While the boss is vulnerable during this attack, he’s usually too far out of the way to be hit. If you have ranged weapons, now is the time to use them. Otherwise, wait for the next attack or phase.
Double Tornado
The boss will send columns of energy whirling in both directions four or five times with this attack. You can block, parry, and dodge all of the attacks. If you block or parry though, you’ll be knocked back quite a way. Make sure you’re not in danger of falling off or dying because of that. As always, dodging is the way forward with most of the attacks.
When you enter this boss arena for the second time, the walls are covered by these columns.
Interim Phase
During this phase, players are teleported to a new room with three doors. These doors often let some enemies loose, so watch out. At some point, some bombs will fall from the sky. That’s all there really is to the phase though. The first time you’re in this room, the boss summons easy early-game enemies. The second time, you’ll be up against two mid-game enemies. After all the enemies are dead, you’ll be teleported back to the main arena. He’ll be available to attack for a few seconds, but then you’ll move straight into the ranged phase.
Final Phase
In this phase, the boss teleports you to a room with a telescope. He can use all of his moves here, so you’re in for a bumpy ride. At about 80% health, the boss will try to heal. If you attack him, he’ll stop and drop the potion. You can follow this pattern as he attempts to heal and finally kill him. This is a long fight, but at least the final phase isn’t quite so punishing as the rest.
Best Strategy

Powerful weapons and attacking from the air are your friends here. The Dead Cells The Collector is designed to be difficult, and can pretty much counter anything you throw at him. Don’t get caught out. Throw yourself into the air and attack during his melee phase. This way, you’ll be out of range from his ground attack. The giant Whistle is perfect for stun-locking him. This gives you a window in which to regenerate some mutations and weapon abilities ready for the next encounter.
For everything else, try to dodge all of the attacks that this boss brings to the table. That is a cowardly mindset we know, but it’s necessary if you want to make it to the final phase. Keep out of his way and get those attacks in when he’s between moves. This is the best way to take him down.
Dead Cells The Collector Lore
At the point you meet him with five Boss Stem Cells, The Collector reveals that he has a plan to create a panacea. This is a cure to all diseases, and will use all the cells you have collected. After depositing the Cells, The Collector is cured and goes mad with power. This is why the boss tries to kill you, because then you’ll have to bring him more Cells.
The potion you can get in the final phase is the panacea. It will make you super powerful and able to quickly kill the boss. As the credits role, it’s clear that the protagonist realises that they have doomed the island by killing the only person capable of curing the malaise.
