Dead Cells has quite a few bosses for players to throw themselves against. They’ll always bookend an area, acting as the guardian to the next one. As long as you can beat them, you can continue with the current run and possibly even finish the game. In this Dead Cells The Concierge guide, we’re covering how you beat the first boss in the game. This is one that every player will come up against more than any other. We’ll show you what it’s capable of, and even provide some tips about how to beat it quickly.
What is The Concierge?
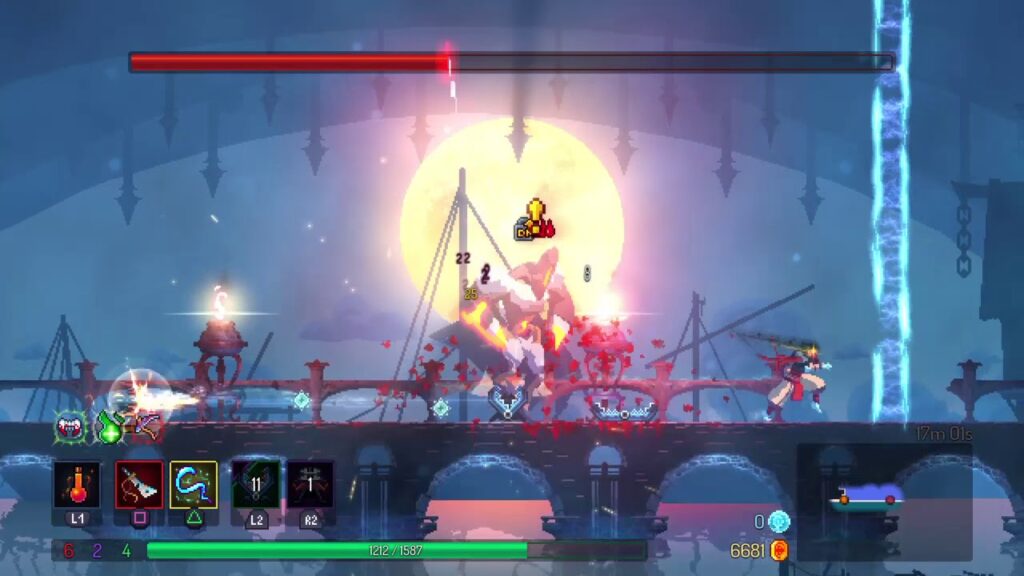
The Concierge is the first Tier 1 boss in the game. It’s always going to be the first boss you take on. You’ll be fighting it on the Black Bridge, which is the only area in which it appears. Luckily, this area is purely a boss arena. You won’t be fighting any other enemies here in addition to it.
Attacks and Strategies
Now, let’s cover the types of attacks that you’re likely to see from this, the first boss in Dead Cells, The Concierge. We’ll also briefly cover how you can avoid them or defend against them. This is tough because it’s so early on in the game, but there are certain things you can do to make your life easier.
Stab
This attack is exactly what it sounds like. The concierge is going to wind up for a period and then stab directly in front of itself. This move can actually be blocked, parried, or dodged. Use whichever workaround you’re most comfortable with. Overall, this isn’t the toughest boss, so dodging every stab attack won’t cost you a lot.
Fire Strike
This move sees the first boss in Dead Cells, The Concierge reach up and smash its hand into the ground. Flames will then spread out either side of it and fill the arena. If you’re caught by the flames, you’ll take damage and then continue to take damage over time from the fire. You can only dodge this attack by jumping over it. There’s no other way to get around it. Every time you see it coming, make sure you jump. If you don’t, you’re asking to take damage.
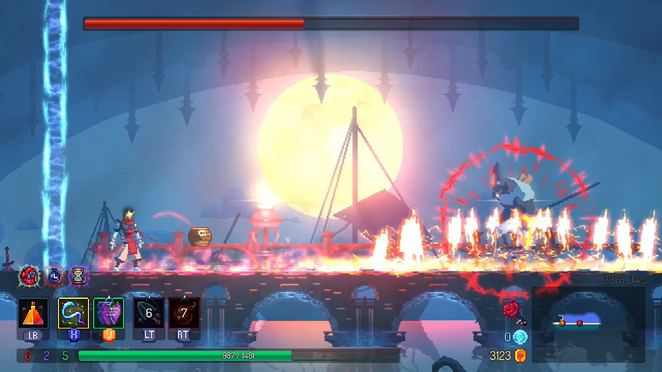
Leap
For this move, the boss crouches down and then leaps at the player. It’ll damage you on contact, so you need to be getting away from it and where it looks like it’ll be landing. Luckily, you can block, parry, and dodge this attack. You can also avoid the attack by crouching, but only when the boss is at the peak of the attack. dodging any earlier or later will still see it land on you and deal some serious damage.
You should look for this attack after a Fire Strike. It’s the most common time for the boss to use it. If you see the boss smash down for a Fire Strike and then crouch, you know that you need to dodge a Leap attack next.
Finally, this attack can also be used after Aura of Laceration has been cast. This is an aura that we’ve outlined below. All you need to know for sure is that if the defensive tactic has been deployed by the boss, you’re going to take damage from its Leap attack. You can decrease the likelihood of a Leap attack by remaining close to the boss, though you’ll need to be dodging a lot more Stab attacks as a result.
Defensive Measures
The boss has a couple of defensive moves that it might deploy during your fight. This all depends on how quickly you can dispatch the enemy. We’ll cover each of them below and provide some useful information to help you cope with them.
Shout
This move happens every time the boss reaches a certain level of HP. It’s a move that indicates that it’s shifting into the second phase of the fight. During this phase, the boss will be a lot more erratic and aggressive. It’s best to focus on dealing the most damage possible during this secondary phase, otherwise you stand a chance of dying very quickly.
The Shout itself is loud and will stun you if you’re in range of it. It’s hard to tell when the boss will do this, but if you see it approaching about half HP, use ranged attacks to get it down the rest of the way. Hopefully, this will result in you being out of range of the stun attack. Interestingly, this attack won’t stun Biters or Turrets, though neither will be able to attack the boss whilst it is performing the Shout attack.
Alongside the Shout attack, a forcefield is activated that protects the boss from any incoming damage or status effects. This is a way for it to negate whatever you might have applied to it in the first phase of the fight. It levels the playing field for the second phase and forces you to set up all status effects once again.
The only way to get out of the way of this move is to be far away from the boss. If you notice that it’s about to Shout, run as far as you can. This should get out out of the shield it generates, and prevent you from being stunned. following this move, the boss will typically perform Aura of Laceration, the move below.
Finally, if you’ve stunned the boss right before it should have used Shout, you’ll have a window of a few seconds to get away from it. The Boss will always use the Shout move though.
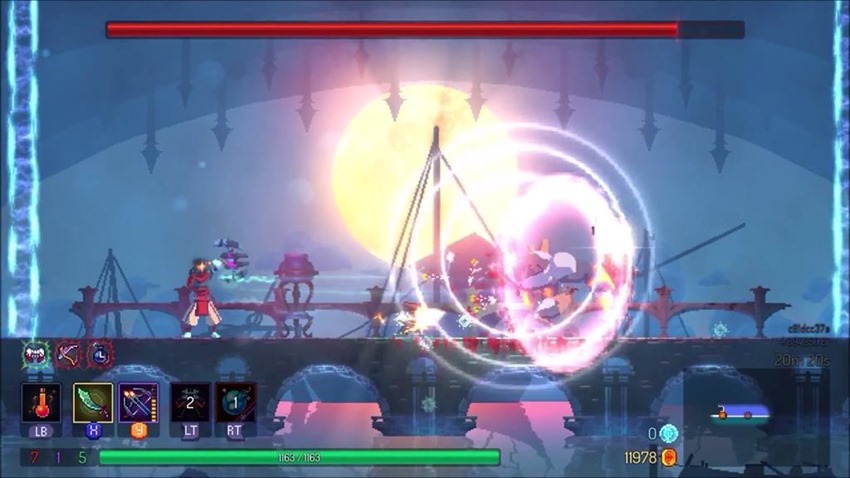
Aura of Laceration
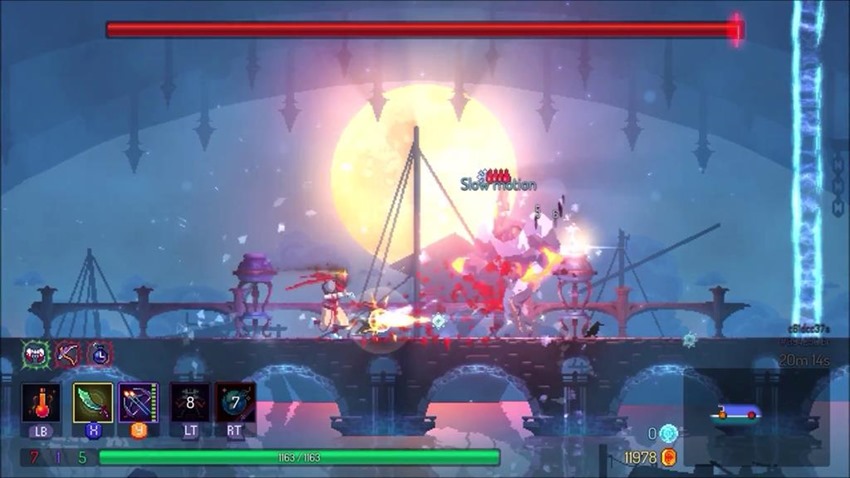
This move sees the boss charge and generates a red aura around it. If you touch this aura, you’ll take damage. you can roll through the aura, but you need the correct timing. You need to roll through the boss and out the other side. If you don’t, you’ll take damage.
Finally, this move can also be used with Leap. It’s a powerful combination that deals even more damage than Leap on its own.
Best Strategy
This is the first boss in the game. When you first start playing Dead Cells, it might seem like a challenge. After a few runs though, it’ll be so easy that you can probably get through it without taking any damage. The key is to use the right weapons and strategies against it. Of course, these are all randomized, so you can only use what you come across in the current run.
Our advice is to ensure that you have a good trap on you by the time you face this boss. Traps will hold the boss in place. If you have a rare one, it might even apply status effects that freeze the boss or cause damage over time. Try to pin the boss at one side of the arena. This way, when it uses Fire Strike, you should have a long run on one side of it to leap over the fire. Traps also prevent the boss from performing the Leap attack, which can completely ruin a strategy.
With this in mind, it’s also good to have a turret or some way or dealing damage over time to the boss. This will ensure that the boss is getting hurt, even while you’re not dealing damage directly. (Xanax) It makes dodging more justifiable since the fight will still be over quickly.
Dead Cells The Concierge Lore

This boss is Castiang, the prison warden. He used to be in charge of managing the prison guards and all those who came in and out. One day, he received secret orders from the King to stop controlling those who entered the prison. Instead, he was to keep everyone inside, even if they’d finished their sentence. He then publicly posted these orders, asking for all infected to come forward. The King scolded him for this.
Later, the King asked Castiang to prevent all infected and prisoners from leaving via the bridge. It’s unclear if these people were guilty of any crime, but there’s no evidence that they were. He was also instructed to use force whenever necessary.
It’s implied in the game that Castiang was taking bribes to deliberately ignore the King’s orders. It’s thought that he took these bribes to support his lazy lifestyle.
Overall, the first boss in Dead Cells, The Concierge, was a nasty piece of work. He deliberately ignored orders, and made others do his work whenever possible. This led to his ultimate downfall, because those he was meant to keep inside the prison ended up causing more trouble that he expected.