In this guide we’re going to teach you how to play Deathslinger in Dead by Daylight.
This killer is definitely one of the hardest that you could choose to play as. However, that just makes mastering him all the more satisfying.
Strap in, and get ready to learn how to completely destroy a team of survivors with this long ranger murderer.
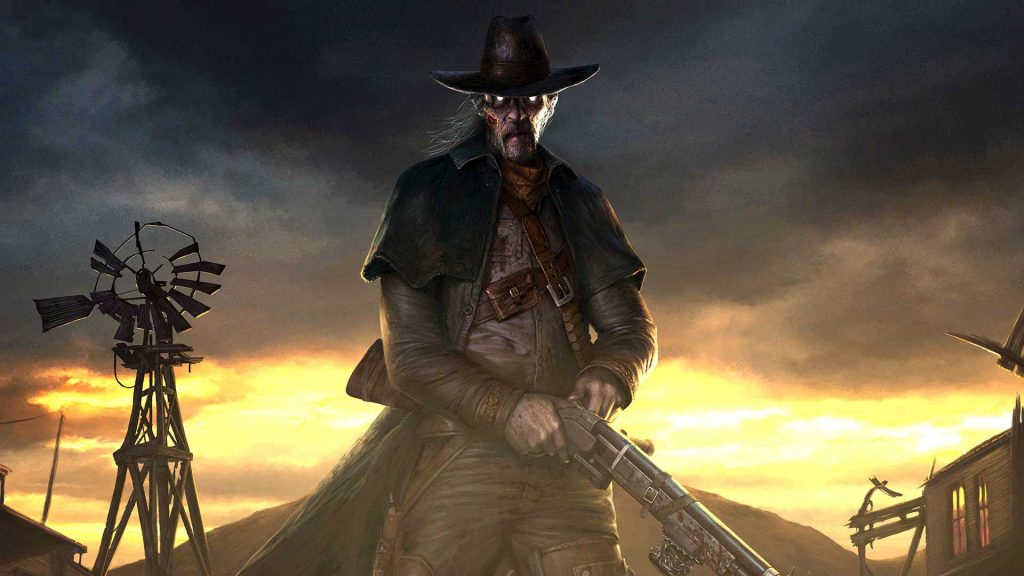
The Deathslinger was added with the Chains of Hate expansion to Dead by Daylight. Which was one of the most prolific in the game’s history.
How to Play Deathslinger in Dead by Daylight
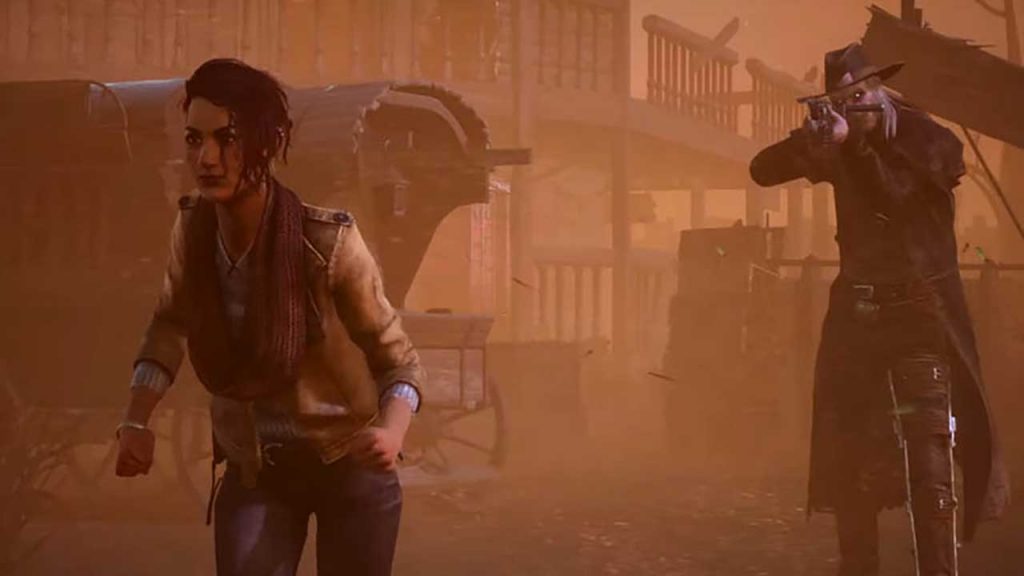
The thing that sets the Deathslinger apart from almost every other killer in Dead by Daylight is his weapon.
The speargun is a unique firearm that will launch a harpoon that sticks in survivors. Those survivors can then be reeled in against their will.
This is totally unlike any other killer’s power, because it actively allows you to bring a survivor to you.
There’s very little need to chase them. all you need is a clear line of sight, and the perfectly timed shot.
Speargun
As we’ve already mentioned, this is the weapon that makes the Deathslinger unique.
You can aim down sights to line up a shot on a survivor, and press the attack button to fire the harpoon.
The Deathslinger’s other abilities are ‘reel’ and ‘reload’. Reel will pull the harpooned survivor towards you.
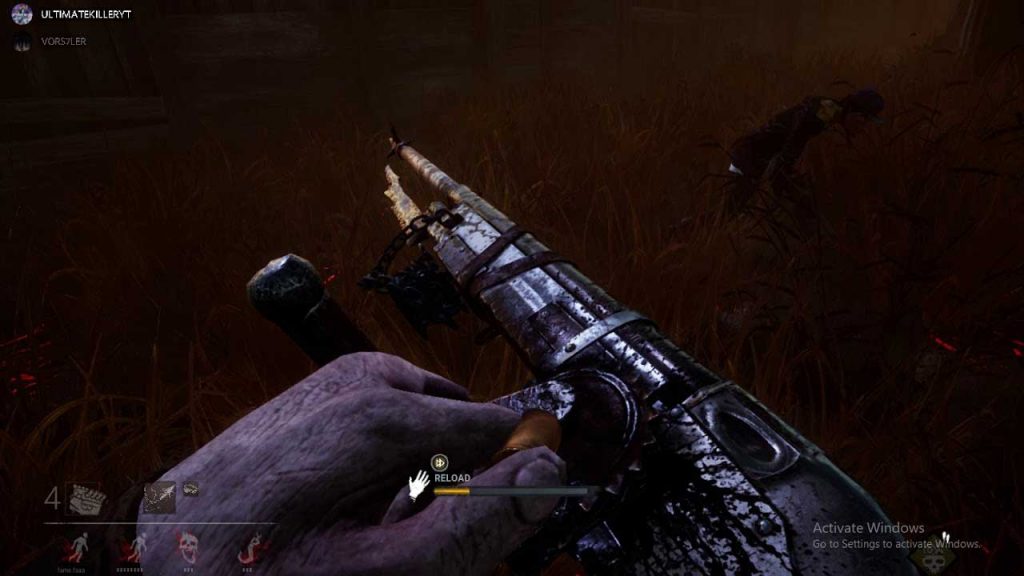
It doesn’t get much more simple than that. Reload on the other hand is an essential part of this killer.
If you don’t reload after each shot, then you won’t be able to fire again. This takes time, but it’s an important part of balancing the Deathslinger out against the other killers.
Short and Long Range
While the Deathlsinger’s weapon is a long range firearm, he can also hit survivors when he gets close enough to them.
This is basically the same as every other killer, with one hit inflicting and Injured status, and the second pushing the survivor into a Downed state.
As such, it’s possible to run around the map as this killer without needing to constantly be ready to aim and fire.
Instead , you can play as you do with every killer, and keep that long range option in mind.
When it comes to the long range option, The Speargun can be aimed and fired incredibly quickly.
This will give you the ability to tag a survivor just as they round a corner, and pull them back slightly while you try to catch up with them.
There’s definitely a careful balance that needs to be found between the long and short range attacks.
However, with practise, you’ll get a feel for what you can do with the Deathslinger.
Reel Them in
Once you’ve hit a survivor with a harpoon, it will be stuck in them for a short period of time. You can use the ‘reel’ ability to pull them backwards towards you.
However, this ability has a limit. The chain will break after a certain amount of reeling, and then the survivor will be free to run away.
It’s important to keep this chain limit in mind. If you don’t, you’ll find yourself wasting shots.
All that’s going to lead to is more reloading, and that’s not how you get sacrifices.
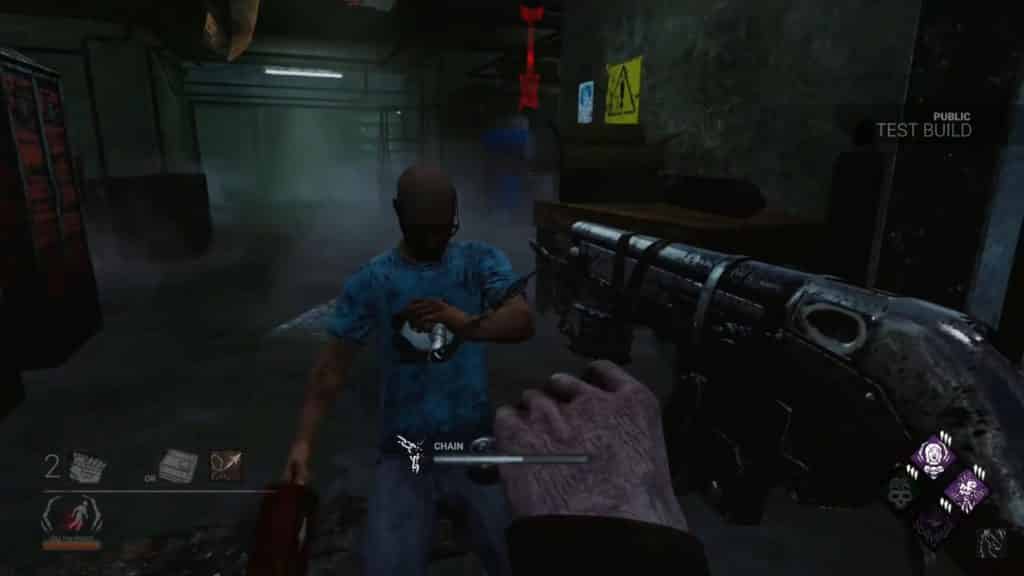
Once you have a harpoon stuck in a survivor, you can also inflict a Deep Wound.
You do this by getting close to them and hitting them with a standard attack. The chain will break when you do a standard attack and a survivor is hooked, but if you break the chain then there’s no penalty on you, and you have the chance to inflict that Deep Wound state.
Keep the Path Clear
It’s important to know that the chain metre for your harpoon will go down faster if it’s touching an object between you and the survivor.
The metre goes down at a steady pace, even if the survivor resists it. But if you have anything between you and them, then that metre will go down faster.
If the chain breaks and you didn’t break it, then you’ll suffer a 4 second stun.
This is a pretty harsh punishment, but it’s balanced compared with other killers. With this downside in mind, it’s important to remember not to try and tag a survivor whilst there’s an object between you.
If they could get an object between you in the few seconds it takes for the shot to hit them, then maybe give that shot a miss.
You’ll know that there’s an object in the way because the chain will glow red.
Other survivors can get in the way and make this happen, but it’s a big risk. You probably won’t see it too often, but watch out for it in high-level players.
18 Metres
The maximum range on the speargun is 18 metres. You won’t be able to figure this distance out in Dead by Daylight right away, but it is something that you’ll soon get a feel for.
Just pay attention to the shots you land, and the ones you don’t. After some practise, you’ll know what the limitations of the range are, and will be able to work around them.
Lunge Forward
This is a tactic that you should be using with the speargun. If you have a survivor hooked and being reeled in, you’ll be able to see if the chain metre is going to break before they get to you.
While you can wait for the chain to break, inflicting that Deep Wound, you can also lunge out of the reeling process.
Once again, this is a key part of how to play Deathslinger in Dead by Daylight. If you lunge forward just as the chain metre is about to reach its limit, you won’t suffer that stun.
Not only that though, you’ll move towards the survivor on the other end of the speargun.
Most of the time this will result in you landing a hit, which may well leave them Downed and ready to pick up.
Lead the Shot
The speargun fires a projectile, and that projectile isn’t very fast. If you’re chasing a survivor and you think you can get them on a side shot, lead that shot a little bit in front of them.
This will ensure that the projectile lands at the moment the survivor enters the weapon’s hitbox.
You need to realise that the speargun’s hitbox is tiny. Even a straight shot on a survivor can miss if you’re slightly off.
This will take some getting used to. It really is all about practise, and I promise you that after a few rounds you’ll have the knack of landing these shots down.
Shoot Over Tiny Barriers
We’ve all played as a survivor and hidden behind something. It’s a key part of playing this game.
However, when we do this, we often leave our heads, or another part of the body, exposed. The Deathslinger can take advantage of this thanks to the tiny hitbox on the speargun.
If you see a survivor crouched behind a car or low wall, aim for the head and harpoon them.
The chances are that the hit will land, and you’ll be able to move around the barrier and pull them in.
Keep in mind that any object between you and the survivor is going to cause the chain metre to fill up faster.
That’s why getting around the barrier is so important. You want a clear path to reel them in on.
Bear in mind that all survivors have a pill shaped hitbox. This means that there is an area just above their heads that will still land your shot.
If you can only just see their head, take the shot. Most of the time this will pay off, and allow you to get another hit, or even a sacrifice.
Reload Often
There’s no fault in taking as many shots as you want in a match. The thing is, you’re going to have to reload each time.
If you come across a survivor and think you can hit them, then do so. When you do get a harpoon in them, then you’ve got a chance to pull them back.
If not, our advice is to reload as soon as you get the chance. This really is a key part of how to play Deathslinger in Dead by Daylight.
If you’re caught without ammo when you have a chance at a perfect shot, you’ll kick yourself.
Perks
Gearhead – This perk will activate after hitting a survivor twice with a standard attack. It will reveal the survivor’s aura to you every time they complete a skill check on a generator repair.
Dead Man’s Switch – You can activate this perk by successfully hooking your Obsession. It causes The Entity to block a generator every time they stop repairing it before it is completely repaired. (Valium)
Hex: Retribution – Probably the most powerful perk in the Deathslinger’s arsenal. It will apply the Oblivious affect to any survivor who successfully cleanses a Dull Totem. If any Hex Totem is cleansed, including this one, then the auras of every survivor are revealed to you for 10 seconds.
Add-Ons
These are all of the add-ons that you can get and apply to the Deathslinger.
Common
Spit Polish Rag – Using this will slightly decrease the cooldown of the speargun after a missed shot.
Snake Oil – The speargun’s reeling speed will be slightly increased with this in use.
Rickety Chain – With this add-on you’ll be granted 50% more Bloodpoints for Speared Score Events. However, survivors will break free from being hooked much more easily.
Modified Ammo Belt – The reload time on the speargun is slightly decreased.
Uncommon
Rusted Spike – When you hit a speared survivor it will inflict the Mangled effect for 60 seconds.
Poison Oak Leaves – A survivor who is affected by the Deep Wound status will have increase mending time.
Marshal’s Badge – The Deathslinger’s Terror Radius will be slightly decreased while aiming down the speargun’s sights. His movement speed will also be slightly decreased whilst aiming down those sights.
Jaw Smasher – Deathslinger’s movement speed whilst aiming down sights is slightly increased.
Chewing Tobacco – The stun you suffer when survivors break free from the speargun is moderately increased.
Rare
Warden’s Keys – The speargun’s reload speed is moderately increased.
Wanted Poster – Deathslinger’s movement speed whilst aiming down sights is moderately increased.
Tin Oil Can – Speargun cooldown after a missed shot is moderately decreased.
Honey Locust Thorn – any survivor that manages to break away from the speargun will be inflicted with the Mangled status for 60 seconds.
Bayshore’s Gold Tooth – Speargun reeling speed is moderately increased.
Very Rare
Poison Chain – The amount of charges required for a survivor to break free from the speargun is considerably increased.
Gold Creek Whiskey – Whilst aiming down sights, the Deathslinger’s Terror Radius is moderately decreased. However, his movement speed is also moderately decreased at the same time.
Bayshore’s Cigar – The stun duration when a survivor breaks free from the speargun is considerably decreased.
Barbed Wire – Mending a survivor who is affected by Deep Wound takes moderately more time.
Extremely Rare
Iridescent Coin – When you spear a survivor from at least 15 metres away, they’ll be afflicted with the Exposed status for as long as they remain speared.
Hellshire Iron – For as long as the Deathslinger has a survivor speared, the auras of all other survivors in the Terror Radius will be revealed for up to 6 seconds.
That’s everything there is to know about how to play Deathslinger in Dead by Daylight. If there’s something that you think we missed, please do let us know in the comments.